

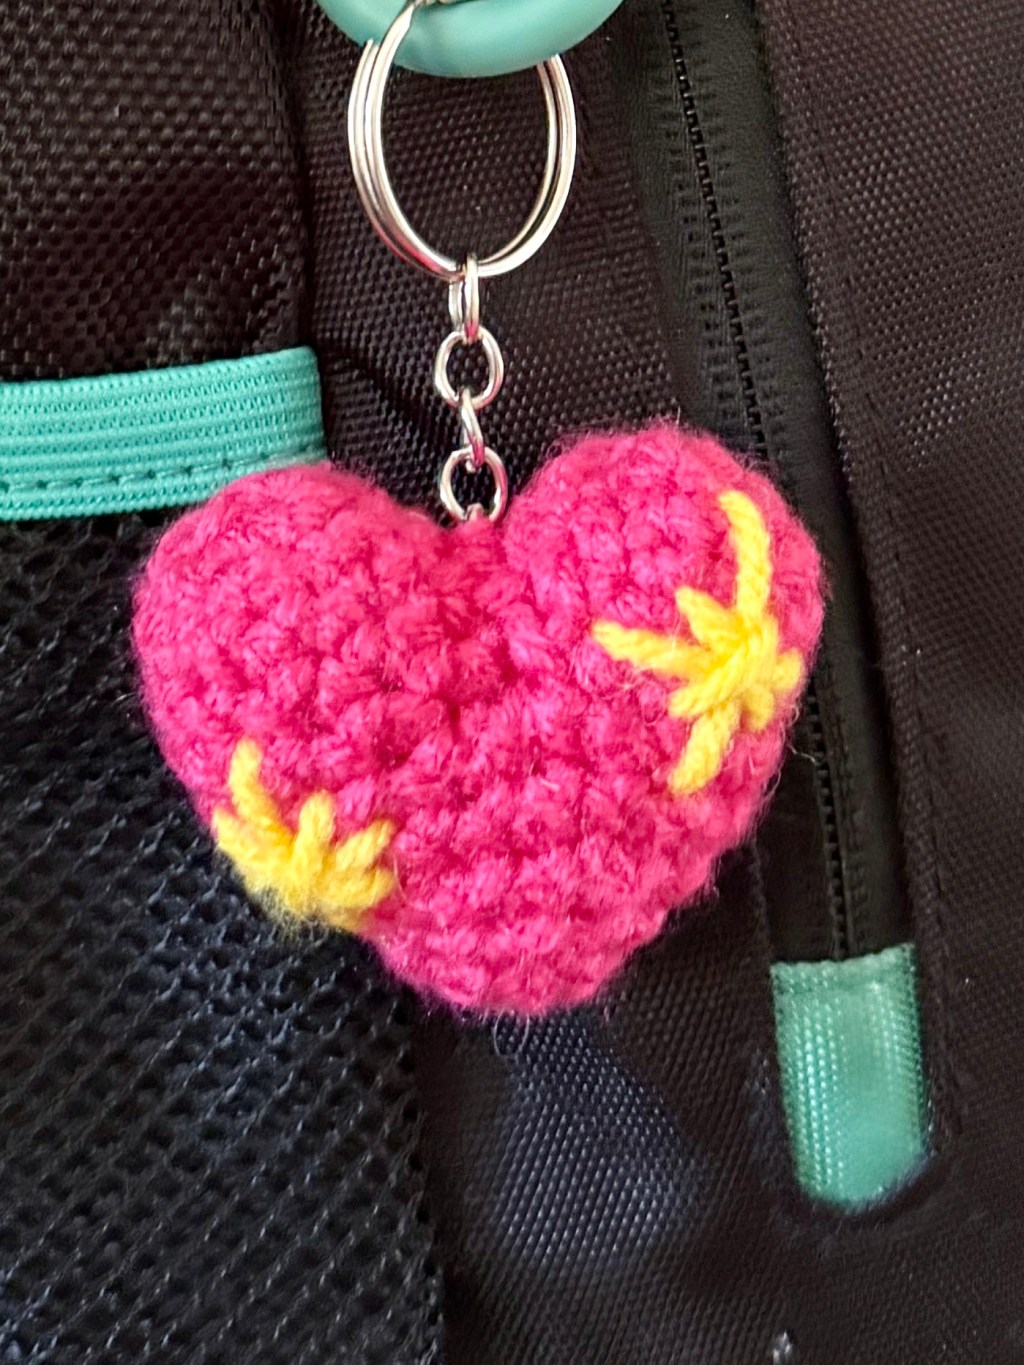
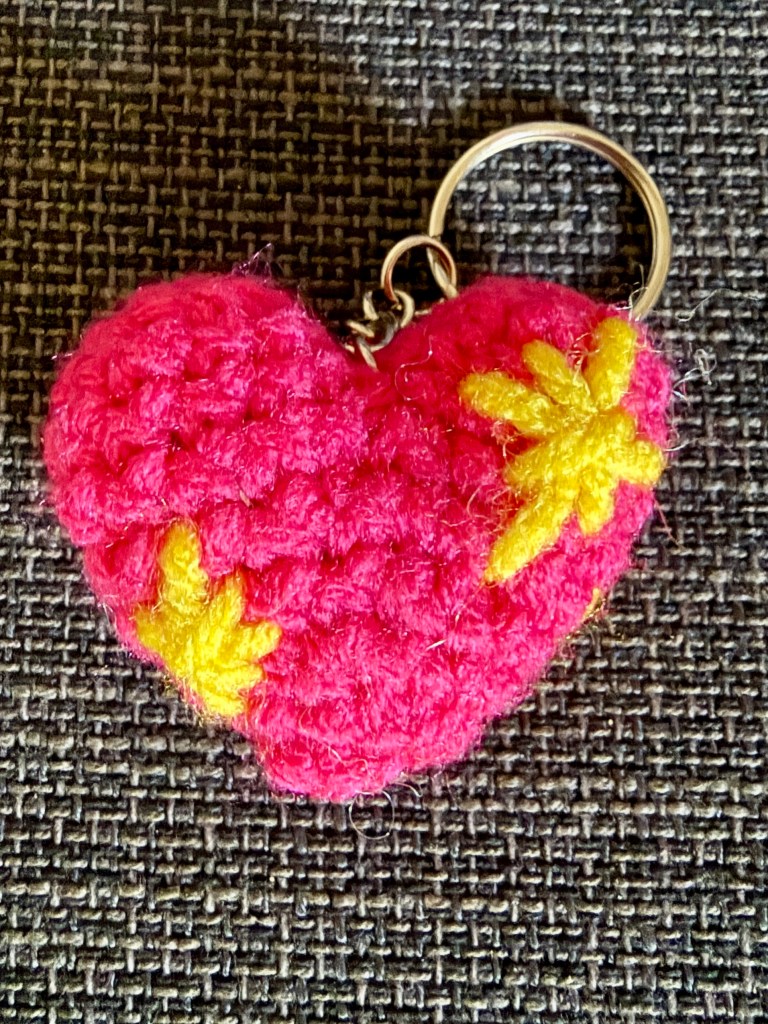
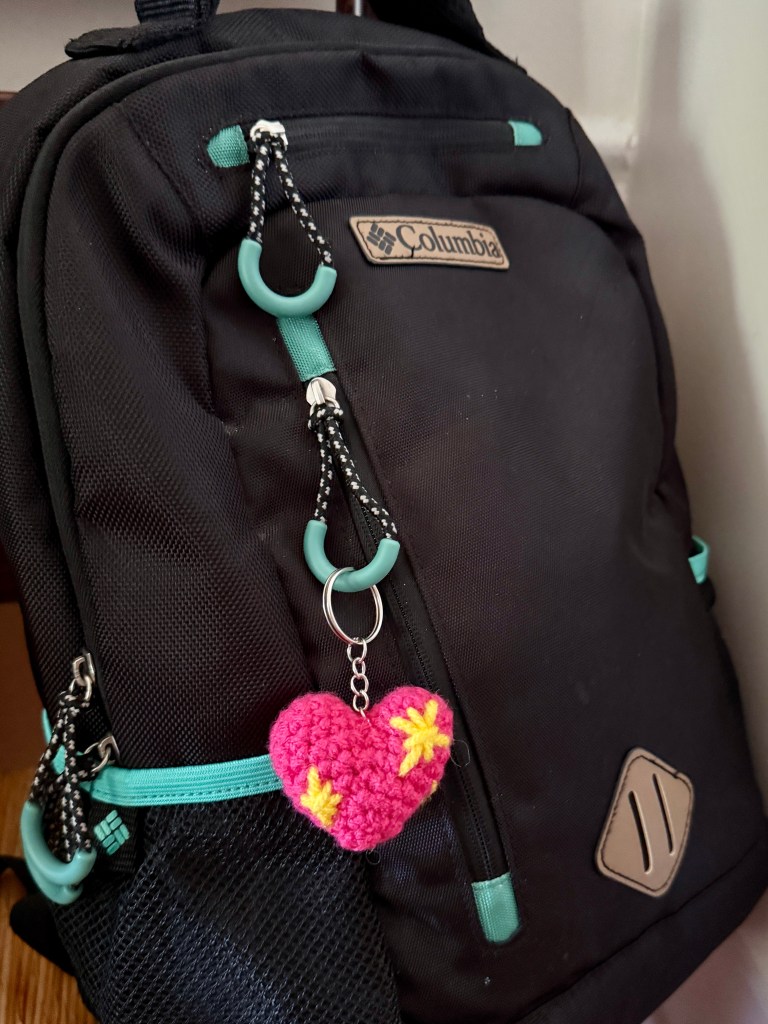
Bring the 💖 sparkle heart emoji to life with this free crochet pattern! This adorable amigurumi heart is designed as a fun keychain or bag charm and works up quickly with simple stitches. Clip it onto your keys, backpack, purse, tote, or wherever you’d like to add a little sparkle and personality. ✨
Follow along with the full step-by-step video tutorial, or use the free written crochet pattern below.
Info
Difficulty level: Beginner
Size: Approximately 2″ (5 cm) across when made with worsted weight yarn.
Materials
Premier Basix worsted weight acrylic yarn*
3.5mm (E) crochet hook
Poly-Fil stuffing
Stitch marker (to mark the end of continuous rounds)
Tapestry needle
Scissors
Abbreviations
sc = single crochet
inc = increase (crochet 2 stitches into the same stitch)
inv dec = invisible decrease (crochet 2 stitches together using the front loops only)
[ ] x# = repeat the sequence inside the brackets the specified number of times
( ) = total stitch count at the end of the round
Notes
All stitches are in US terms.
Crochet in a spiral in continuous rounds, marking the first stitch of each round with a stitch marker.
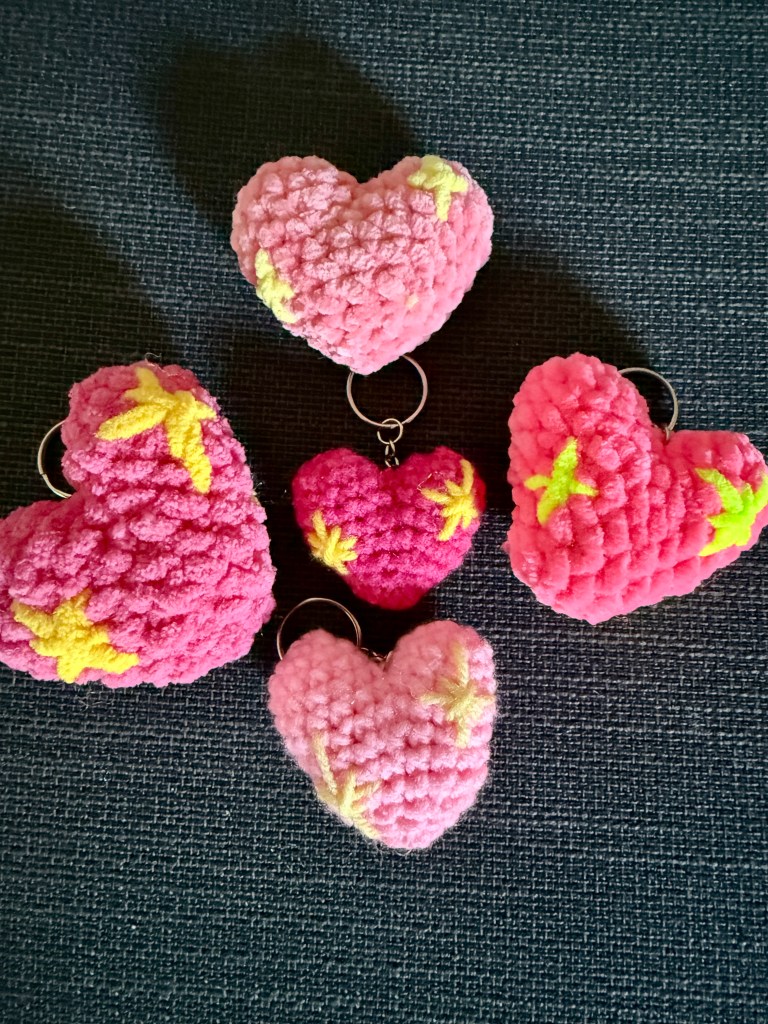
Feel free to use any yarn with a corresponding hook size. The finished size and look of your heart will vary depending on your materials. Check out the photo gallery below and video tutorial above to see a few examples made with different yarns!
I used a split key ring with chain, but any style of keychain or bag charm hardware will work. You can also leave off the hardware if you’d prefer just a plush heart. 🩷
Resources
▶️ Helpful tutorials: New to crochet or need a refresher on any stitches used in this pattern? Check out these short videos from The Woobles:
- Magic Ring (this is the method I use!)
- Single Crochet
- Increase
- Invisible Decrease
🧮 Project tracking: Want to keep track of your rounds as you go? I use Stitch Haven — a site I built to save patterns and organize projects. You can even import the pattern text to instantly generate interactive pattern steps alongside built-in row and stitch counters.
Pattern
Lobe 1
Round 1: Magic ring, 6 sc using pink yarn (6)
Round 2: [inc] × 6 (12)
Round 3: 12 sc (12)
Round 4: 12 sc (12)
Fasten off, leaving a long yarn tail for assembly.
Lobe 2
Round 1: Magic ring, 6 sc using pink yarn (6)
Round 2: [inc] × 6 (12)
Round 3: 12 sc (12)
Round 4: 12 sc (12)
Do not fasten off.
Join the Lobes
Round 5: Bring Lobe 1 alongside Lobe 2. Insert your hook into the first stitch of Lobe 1 (marked with the stitch marker) and work 12 sc around Lobe 1. Continue directly into the first stitch of Lobe 2 (also marked with the stitch marker) and work 12 sc around Lobe 2. (24)
The two lobes are now joined into one heart, and you’ll continue working in continuous rounds from here.
Don’t worry about the opening between the two lobes—we’ll close it after the next round.
Round 6: [2 sc, inv dec] × 6 (18)
Using the long yarn tail from Lobe 1 and a tapestry needle, attach the split key ring with chain inside the top of the heart while sewing the opening between the lobes closed. Continue stitching until the gap is closed and the keychain is securely attached. For a detailed demonstration of this step, see the video tutorial above.
Round 7: 18 sc (18)
Round 8: [1 sc, inv dec] × 6 (12)
Round 9: 12 sc (12)
Stuff the heart firmly with Poly-Fil stuffing.
Round 10: [inv dec] × 6 (6)
Add additional stuffing if needed. Fasten off, leaving a long tail. Thread the tail through a tapestry needle and weave it through the front loops of the remaining 6 stitches. Pull tightly to close the hole, then weave in the end and cut the yarn.
Embroider the Sparkles
Using yellow yarn, cut a long strand (approximately one full arm span, from fingertip to fingertip) and thread it onto a tapestry needle. Embroider one sparkle near the upper right and one sparkle near the lower left of each side of the heart. Each sparkle is made by stitching a large “+” with a smaller “×” centered on top.
For a detailed demonstration of the embroidery and placement, see the video tutorial above.
Finished?
I’d love to see your creations! Tag me @maymayscrochets. Happy stitching! 🧶
Gallery


Leave a comment