

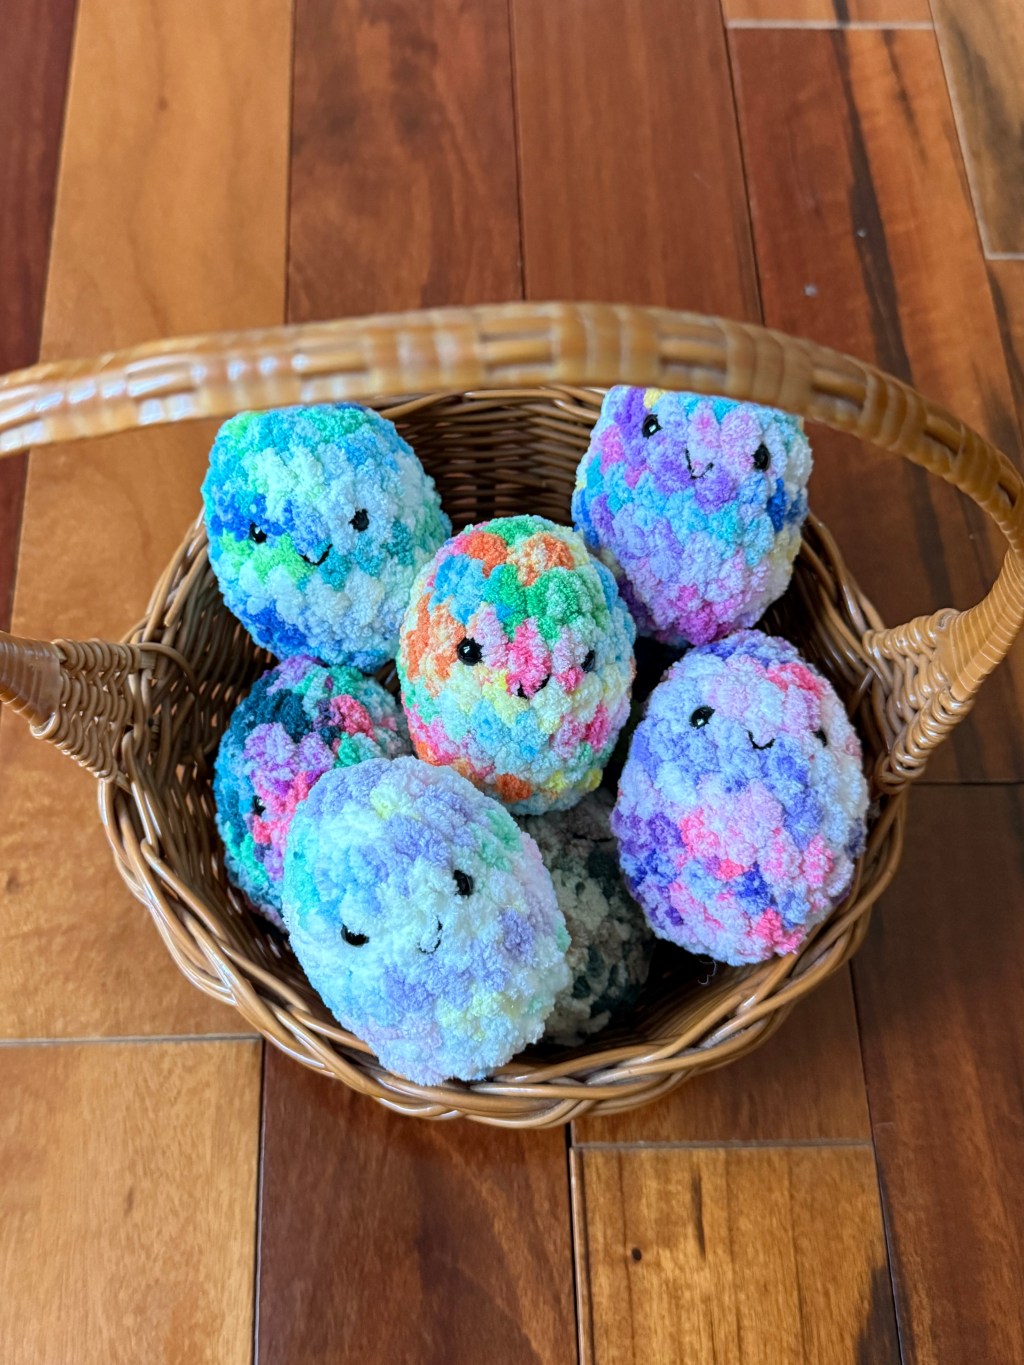
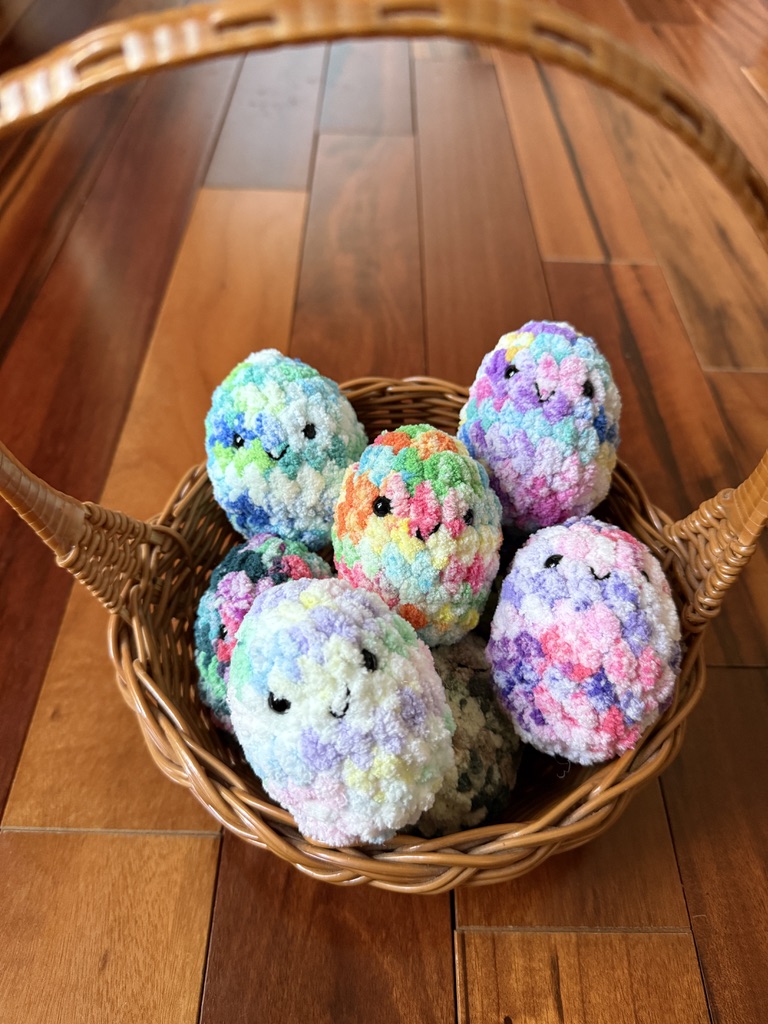
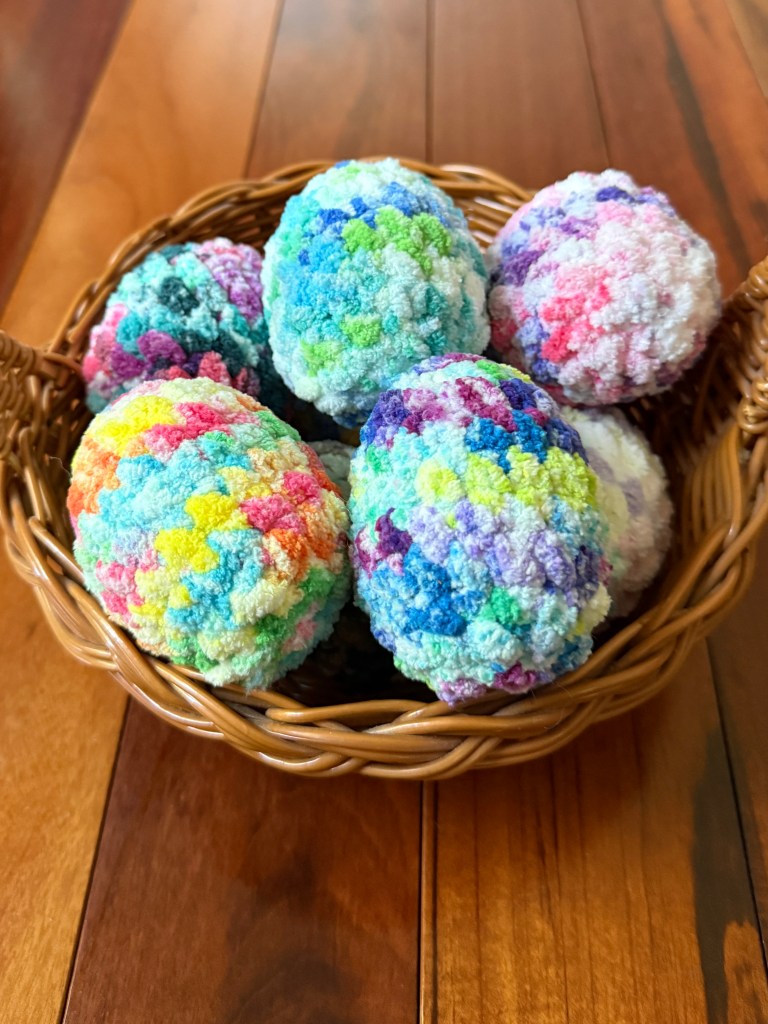
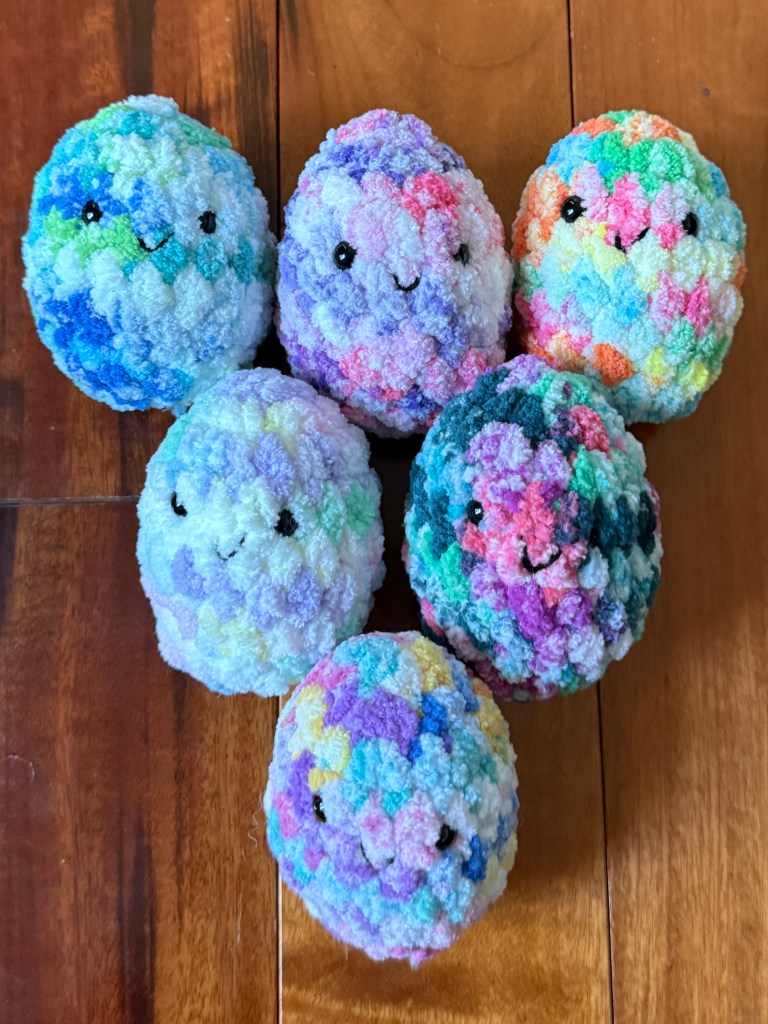
These tie-dye amigurumi Easter eggs are soft, colorful, and full of personality, with adorable faces and a fun kawaii vibe. Made with chunky chenille yarn for an extra squishy, plush feel, they’re perfect for spring baskets, Easter egg hunts, gifts, or seasonal decor. 🥚🌈
Watch the full pattern walkthrough video above for a step-by-step tutorial with helpful tips along the way. This pattern is super beginner-friendly, using only single crochets, increases, and decreases, and works up in just 10 rounds—perfect for a quick, satisfying project. ✨
Info
Difficulty level: Beginner
Size: Approximately 3.5″ (9 cm) tall x 2.5″ (6.5 cm) wide
Materials
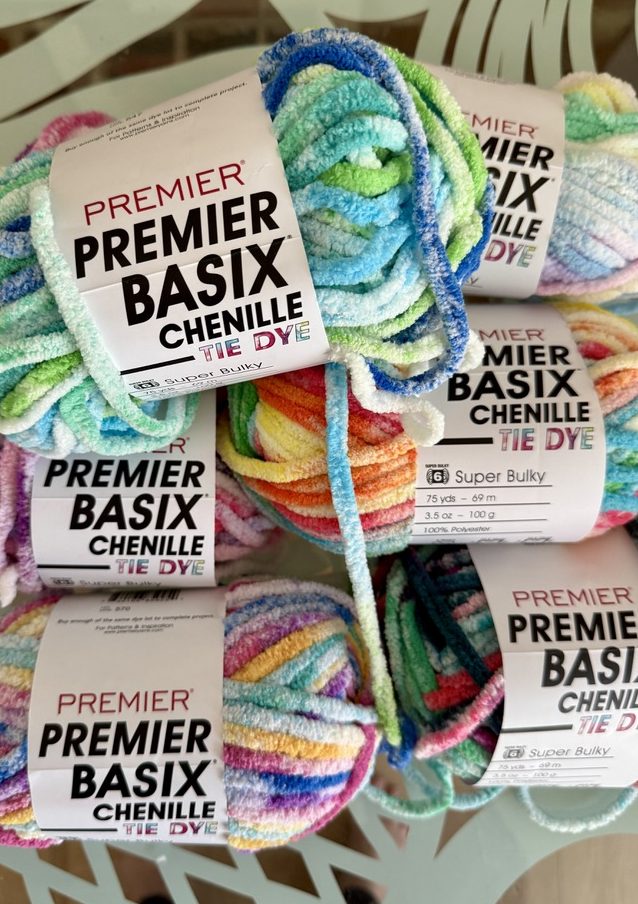
Premier Basix Chenille Tie Dye yarn (super bulky #6)
5.0mm (H-8) crochet hook
2 x 8mm safety eyes
Small amount of thin black yarn or embroidery floss (for the mouth)
Poly-Fil stuffing
Stitch marker (to mark the end of continuous rounds)
Tapestry needle
Scissors
Abbreviations
sc = single crochet
inc = increase (crochet 2 stitches into the same stitch)
inv dec = invisible decrease (crochet 2 stitches together using the front loops only)
[ ] x# = repeat the sequence inside the brackets the specified number of times
( ) = total stitch count at the end of the round
Notes
Crochet in a spiral in continuous rounds, marking the first stitch of each round with a stitch marker.
All stitches are in US terms.
Safety eyes and the embroidered mouth are optional — feel free to leave them off for a classic egg, which really highlights the tie-dye colors! 🌈
You can use any yarn — just adjust your hook size accordingly. The finished size will vary depending on your yarn and hook combination.
Tip: When working with chunky chenille yarn, placing extra stitch markers in additional stitches can help you keep track and know exactly where to insert your hook.
Resources
Helpful tutorials: Need a refresher on any stitches used in this pattern? Check out these short videos from The Woobles:
- Magic Ring (this is the method I use!)
- Single Crochet
- Increase
- Invisible Decrease
Project tracking: Want to keep track of your rounds as you go? I use Stitch Haven — a site I built with built-in row and stitch counters and tools to save patterns and organize projects.
Pattern
Round 1: Magic ring, 6 sc (6)
Round 2: [inc] x6 (12)
Round 3: [sc, inc] x6 (18)
Rounds 4-7: 18 sc (18) [4 rounds total]
Round 8: [sc, inv dec] x6 (12)
Round 9: 12 sc (12)
Insert safety eyes between rounds 4 and 5, spacing them 3 stitches apart
Stuff the egg with Poly-Fil stuffing
Round 10: [inv dec] x6 (6)
Fasten off, leaving a long tail. Thread the tail through a tapestry needle and weave it through the front loops of the remaining 6 stitches. Pull tightly to close the hole, then weave in the end and cut the yarn.
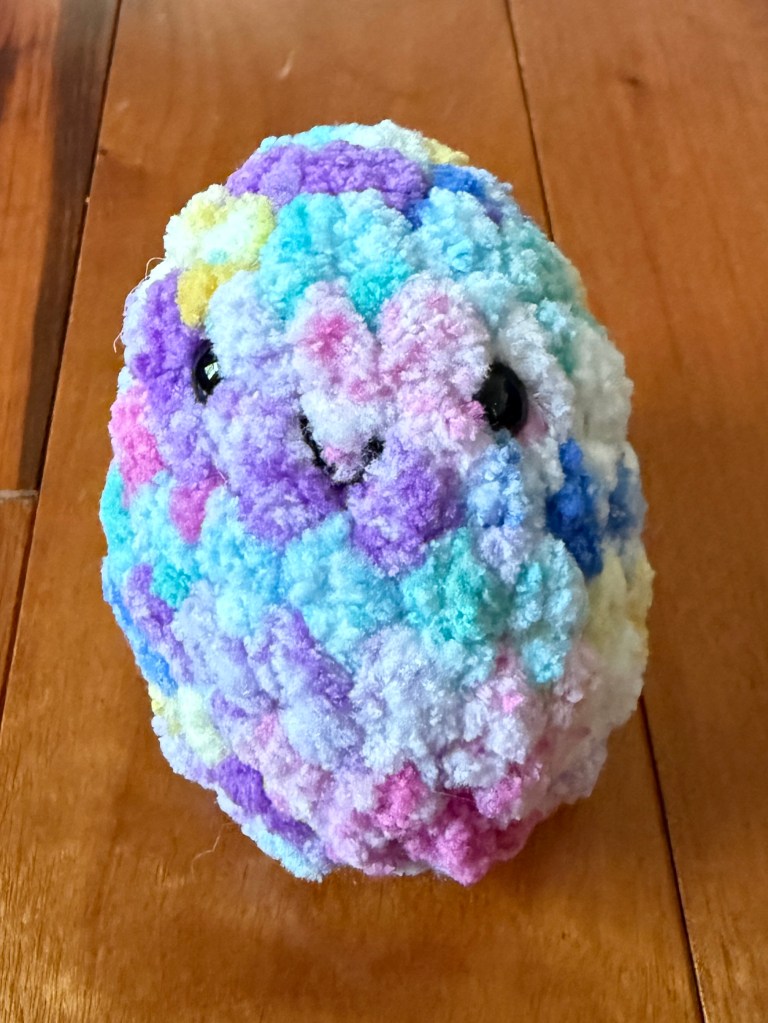
Gently reshape with your hands to highlight the egg shape, pinching the top to form more of a point and rounding the bottom as desired.
Embroider a small, curved smile with thin black yarn and a tapestry needle, centered just below the eyes. See the video tutorial at 32:00 for a step-by-step demonstration.
Finished?
I’d love to see your creations! Tag me @maymayscrochets. Happy stitching! 🧶
Gallery

Leave a comment